I decided to start the new year off right with finishing a project that has been going on almost since we bought our house.
I don't have many great photos of the upper stairs from before we moved in, but they weren't in the best condition. They were plywood, which had obviously been covered with carpet at some point, and then ripped off and refinished in an unattractive orange/brown stain.
Very early in the renovation process, we started sanding the stairs, with the hope of refinishing them. Unfortunately, there was a lot of water damage on the bottom two steps, and we had a hard time sanding it away.
Eventually we just gave up, and went on to other projects, pushing the stairs out of our minds as much as you can ignore something that you see every day.
Three years passed, and we ignored the stairs. Until one day, a friend of mine redid her stairs, and they looked amazing. I was so jealous, and also impressed. She had a whole flight of stairs and I only had six! Why was it taking me so long? I'm nothing if not competitive, so I decided that it was time.
Matt and I talked about it, and he finally convinced me to use stair caps instead of trying to sand and re-stain the stairs. I'm so glad he did, because the finished product looks so amazing.
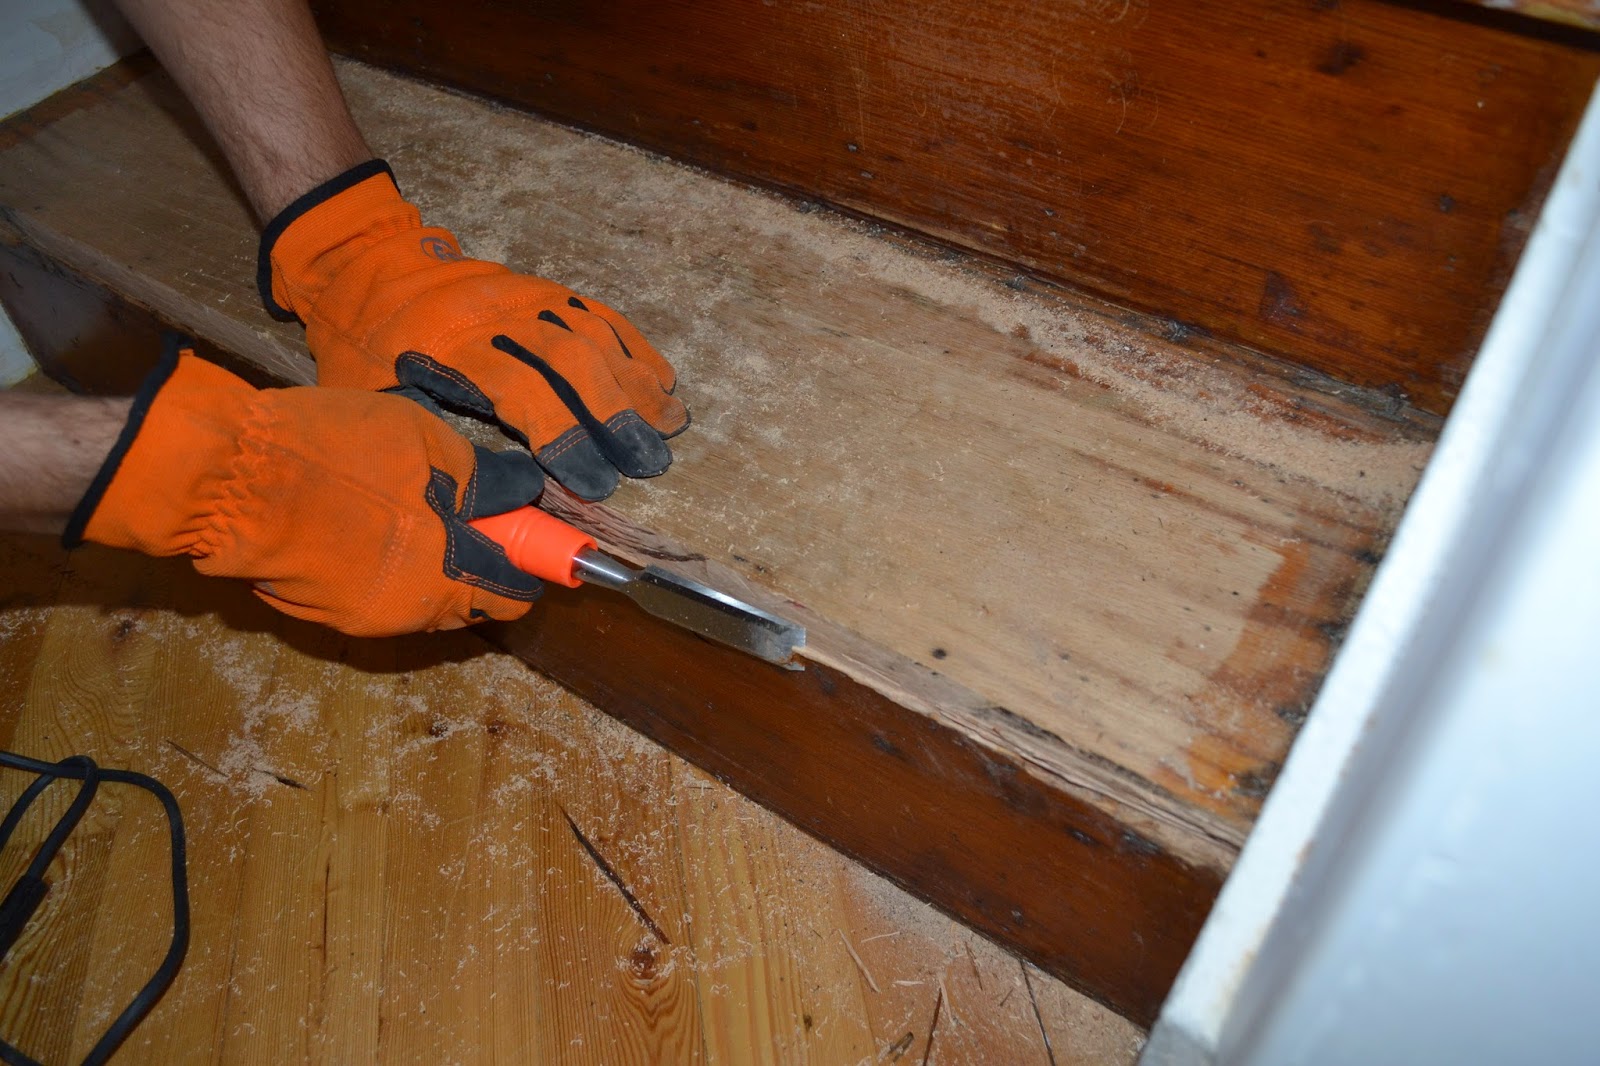
We had to cut off the noses of the current stairs, which we did with a circular saw. Since the saw didn't cut to the edges, we chiseled the rest of the wood off. During this time I realized how fun chiseling is, and I'm sad I haven't had a chance to do it before now. Our stairs were very creaky, so Matt sunk some screws down, and now they are much quieter.
After the treads and risers were cut, I stained and painted them. It was easier to do this before they were installed, because I didn't have to worry about it drying or running or the dogs trying to go up and down the stairs.
It took 3 coats of stain to get the color I wanted, and I also did 3 coats of white paint on the risers. While I was working on the caps, Matt was filling the holes left by the previous treads, and sanding down the trim a little bit, to give in a newer look.
I painted the trim around the stairs before installing the stairs, and it already looked so much better.
Finally, we were ready to install the stairs. I borrowed a nail gun from a friend, and we got to work. Once everything was set up, installation went very smoothly. We worked from bottom to top, spreading a generous amount of liquid nails over the stair surface before attaching the wood caps. Then we added the nails. We used 4 for the risers, and 6 for the treads. Luckily, because of all our prep work, this part went very smoothly, and we finished in about an hour.
After the stairs were installed, we still had to caulk around the edges of the boards, fill in the nail holes, and add a coat of polyurethane to the treads. I wanted to do this after it was installed so the nail holes would be filled in, and hopefully not as noticeable.
After all of that, our stairs are finally finished! I'm so happy to have them done, and I keep staring at them when I pass by. Now all we need to do is finish the banisters, and the stairs will really be done!


