10.11.2011

How to Change a Light Fixture While on the Phone

And I'm not talking about with a bluetooth headset.  I mean, an actual phone cradled on your shoulder.  I should probably start at the beginning, which is a photo of our old light fixture.


It doesn't look too bad from the photo, but it was very dirty and old, and it didn't work.  Since we have moved in we have not had a porch light.  Boo.  So anyway, first I bought a new fixture.


I chose a brushed aluminum finish to match the mailbox and front door hardware.  I made sure to turn off the circuit breaker for the front light before I removed the old fixture.


Then I realized that the previous fixture was so old that it didn't have a grounding wire.  I did see a copper wire in the electrical box, but I wanted to call my dad to make sure I was doing everything right.  That quick phone call turned into a long conversation, but since it was already 5:15pm, I didn't want to lose daylight.  So I attached the wires while cradling the phone between my shoulder and my head (hence the reason for almost no progress photos).  I did get this one when all the wires were hooked up but before I attached the fixture to the electrical box.

Is this right, dad?
After that photo was taken, I shoved all of the wires back into the box, and attached the fixture (I also didn't look at the directions, which is kind of scary).  But it looked ok.


And when I put in a lamp and turned it on, it worked!


I'm so glad that we finally have a porch light that works!  And now that it matches the door hardware and mailbox, I think our front porch seems a lot more cohesive.  I still want to replace the house numbers which are old and ugly and painted over, but I think we've made our house much more inviting.

10.09.2011

Installing a Mailbox: An Exercise in Patience

You know how there are some projects that you think "oh yea, give me an hour and it will be done!".  That's how I thought installing a new mailbox would be.  It seemed pretty straightforward.  Take mailbox off, put new mailbox on.  Not rocket science.

Oh, famous last words.  But before I get into that, I'll let you know what our old mailbox looked like:


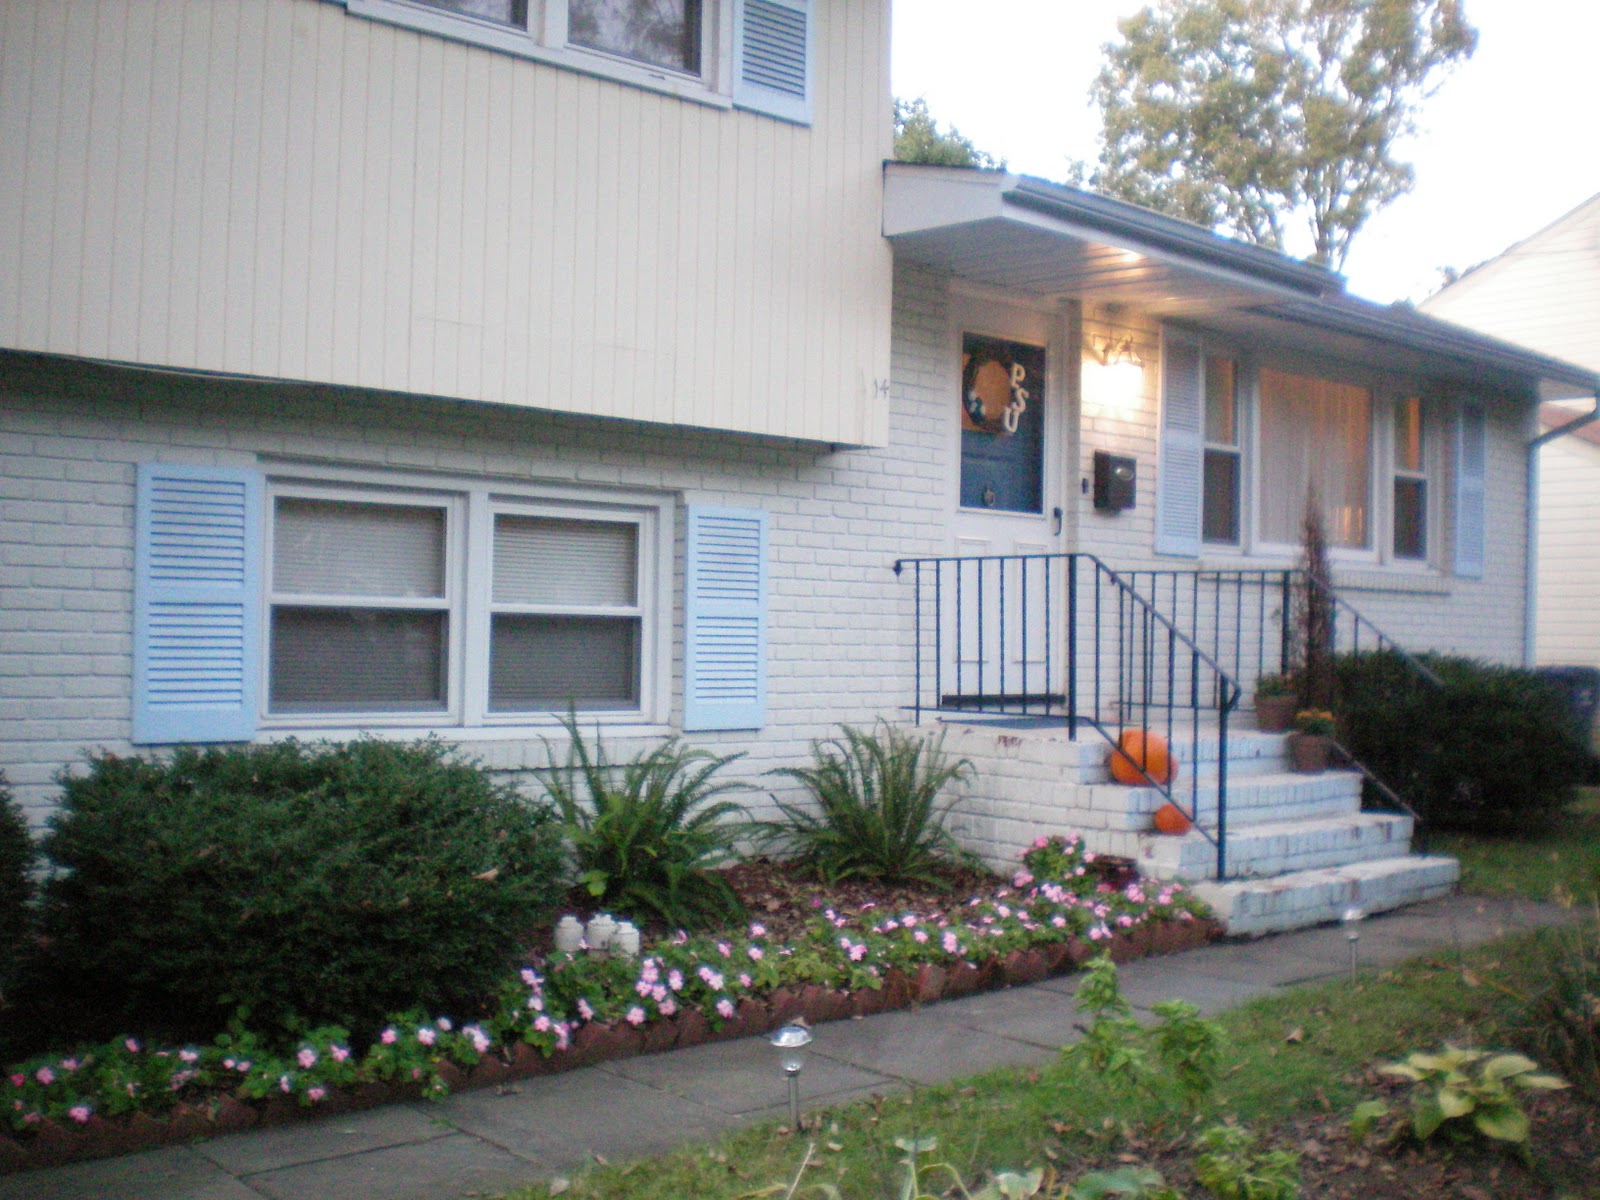
First off, it was mounted really high.  I'm pretty tall (5'8") and I couldn't see inside.  I looked around at other mailboxes in our neighborhood, and they were all significantly lower than ours.

Secondly, it was old and rusted.  I'm not sure if it's the original mailbox or not, but it very well could be.  Also, they didn't remove it last time the house was painted, so there is paint all around the edges.  And right on the front.

Finally, it just wasn't our style.  Some people may be into the rooster/weathervane look, but we're more modern with sleek lines.  A new mailbox was in order.

Here's the one we chose.  You know it's a mailbox because it says "mail" on it.  Matt wanted it to say "male", but they didn't sell a malebox (tehe).


The old one came off pretty easily.  I just unscrewed it, no problem.  This lulled me into a false sense of security, that the rest of the project would be quick and easy.  We already knew that we wouldn't want to mount it at the same height, so I called Matt out to help me decide where to mount it.  We decided we wanted it center line even with the light and doorbell, so we measured and made the marks in the brick.


We marked where we would drill.
That's where things got tricky.  Earlier in the day, I had found videos describing how to drill into masonry.  The video I found said that you should drill a hole slightly smaller than the screw.  So I went out and bought a 1/8" masonry drill bit, and some 3/16" masonry screws.  So we started drilling.


After the holes were drilled, we tried to screw the masonry screws in, but even with the drill we couldn't get them more than halfway.  After trying for a while, one of the screws actually broke in the hole.  So we went back to the hardware store and got a 5/32" masonry drill bit.  We had to drill 2 more holes, above the old ones, because the end of the screw was still stuck in the other hole.  Luckily the second time was a charm, and we drilled the holes and both of the screws went in.

Making sure the holes are level.

Bingo!
After inserting the screws partway, I attached the mailbox.


Then I tightened the screws, and the mailbox was done!


I think it really updates the look of our entryway.  Plus, now we can actually see into the mailbox instead of feeling around blindly for mail! Have you ever had a project that seemed easy but ended up taking a long time?

10.08.2011

Curb Appeal

So since we've moved in, we've spent a lot of time working on the interior of our house, but not too much time working on the outside.  It was way overtime for us to make some exterior updates. 


We did paint the front door a few weeks ago, and added my awesome homemade Penn State wreath, but beyond that not too much.  Besides some help from my grandparents and Matt's mom in the spring, we haven't done anything with the landscaping.

So this is what it looked like as of this morning:

overgrown bushes

our Penn State gnome, Fred

overgrown, but the inpatients that Matt's mom planted are thriving!

The door looks a lot better, but the mailbox and light are old.  The light hasn't actually worked since we moved in!

At least we're trying with the pumpkins and mums...

This is actually embarrassing.  I swear I have a black thumb.
So yea, not looking so hot.  The weather reports for today were all saying it would be high 70s and sunny, so we decided to spend the day working outside.  I bought a new mailbox and light fixture, and Matt agreed to climb on the roof (even though he's getting over a cold) and clean out the gutters.  I put on my gardening gloves and we got to work!

Matt cleaning out the gutters.

Front entry with a new (working!) light and mailbox.

Cleaned up bushes.

Much more tidy.

We still have the dead tree, but at least the weeds are gone!
I'm pretty happy with the updates we made.  I love that we actually have a porch light that works.  I really wanted one before halloween, because how else will the kids know to come to our door for candy? 

10.01.2011

Update Office Chair

For Matt's birthday a few months ago, I bought him a new office chair.  It's better for him, because the arms fold down so that he can play guitar easier.  Since he had no more use for his old office chair, I took ownership.

The only problem... It was old and pretty beat up.  It is at least 10 years old, and the gray material is tearing in places and slightly discolored from constant usage, and many food and drink spills.


I got the materials I needed together.  I planned to use a staple gun to attach the fabric to the chair.  


I ended up choosing a fabric that matched the office walls almost exactly.  Lucky, because I didn't even take a paint chip with me! I loved the cream/pink/brown color palate.  I also liked the fun, floral pattern.  Eventually I would like to do a light pink flower stencil on the wall, and this fabric was very close to what I had in mind.


I started by taking the chair apart.
I then cut the fabric to fit the pieces.  I used 1.5 yards of fabric, and had just a little bit left over, so I guessed right again!

It took about 30 minutes to attach the first piece of fabric.  I was a little bit frustrated with how hard it was, because I had such an easy time with the headboard earlier this month.  I ended up needing to use a combination of hot glue and staples, because in some places the staples wouldn't stick.


I did end up getting all of the pieces covered in fabric.  I put the chair back together, and it looks completely different!  


I love the new look of the chair.  Plus, it was so cheap!  Here's the cost breakdown:

Staples: already had them
Hot Glue: already had it
Fabric: $6.30

Total Cost: $6.30

Not too bad for a new-looking chair!

9.30.2011

Penn State Wreath

Inspired by Pinterest, and a great game last Saturday, I decided to make a Penn State wreath for my front door.  I bought the supplies, a stick wreath, felt and wooden letters.  I used a hot glue gun to attach the letters to the wreath. 


Then I made rosettes out of strips of felt.  It took a while to get the hang of it, but I think they turned out well. 


I used hot glue to attach the rosettes to the wreath. 


Now we have a Penn State wreath to decorate our door and show our pride!


 I might add some more rosettes to the wreath, I haven't decided if I like the minimalist look or not.  What do you think?