6.30.2011

Office Update

So you may have noticed a lack of new posts recently.  Well, after the first few rushed months of tying to get into the house and fix it up, then moving, we were exhausted.  Our first major goal was to have the main level completed by June 11th, which was our housewarming/my birthday party.  We worked at an insane pace until that point, and got a lot done.  We were able to get the kitchen looking pretty good, and we were only missing some trim when the day of the party came.  We were literally working until 5 minutes before guests started arriving.
So after that crazy rush we needed a break.  I mean, we’d been working on the house pretty much constantly since we bought it (plus both working full time jobs). Yes, we definitely needed to rest.
But, now it’s 3 weeks later and we haven’t really progressed at all since the party.  Matt cut a little bit of trim and I put together a shelf for the bathroom, but nothing serious.  I think part of the reason we’ve slowed down (besides the lack of motivation that a bunch of people coming to judge your house provides) is that now it’s decision time. 
We already made big decisions with the paint colors and materials for the kitchen, but now it’s time to really pull it all together.  Finding just the right curtains, furniture and art takes time, and we don’t want to rush it.  

We did, however, find furniture for our office.  Matt found the desk on craigslist (for $30!), and while it's not my ideal piece of furniture, it will be fine for now.  Also, we bought a sofa for the office, so we can be comfy watching the only tv in the house.  The sofa is a Parker Microfiber sofa from Raymore & Flanagan.  We liked it because the space isn't that large, and it's only 78" long.  Here are some photos:


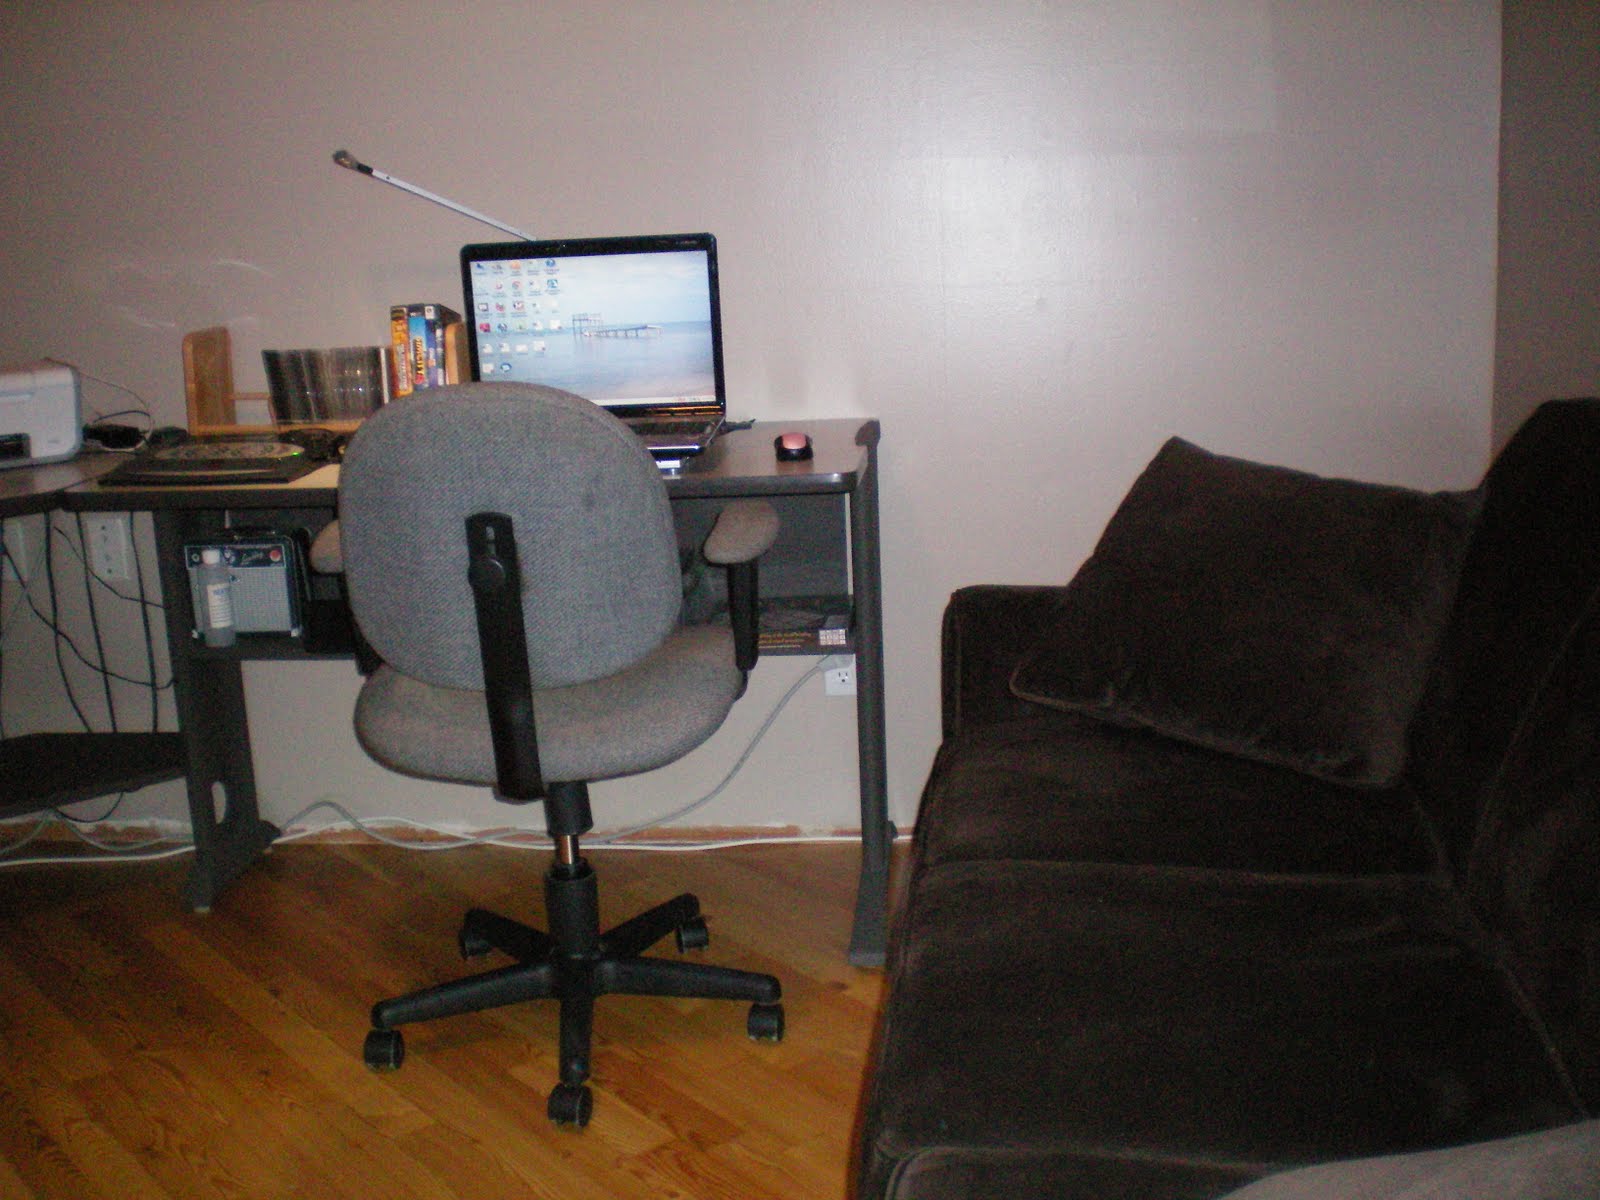
The wall color is Ivory Brown by Valspar.  I'm really happy with it, since it looked... not so nice while in the can.  I really like it now.  Plus, once we get the trim up it will look more polished.


I also want to add some color to the room, maybe with a window treatment or accent pillows on the sofa.  I'm not sure what color to go with right now, maybe a blue?   Also, we still haven't decided where to put most of our art, so some might end up in here.  

6.20.2011

Kitchen Reveal

We are finally finished the kitchen (mostly).  Well, enough to post about it, anyway.  We still have a small bit of moulding and painting to do, but other than that it’s finished and gorgeous (if I say so myself!). 
It’s been a long time coming, and we put more work and money into this room than any other room in the house.  Our overall budget for initial house renovations was $10k, and about $4k of that went to the kitchen. 
When we first got the house, all of the walls, including the kitchen were yellow.  We liked the ceramic floor tile, but the backsplash and countertop had to go.  Between the horrible installation and the ugly, permanently dirty look that the counter tiles had, we were too happy to remove them.  The cabinets were newer (4 years old) and in good condition, but the uppers were installed crookedly, so we had to remove them and re-install them to be level. 
The original counter ended at the end of the dishwasher, leaving an extra 26” of usable space between the cabinets ending and the door, so we decided to add another shelf to that space to increase our storage and counter space. 
 Here is our kitchen!


Table and fridge.

I am so happy with how everything turned out!  There are obviously some things that we need to finish - small bits of moulding, the second light fixture (a pendant which will go over the table), and the shelves and bookcase, but all of the major projects are finished.  It's been a lot of work, and we're almost there!
 Kitchen Before - notice the crooked cabinets

Kitchen Before - the unnecessarily small countertop
Removing the backsplash was actually pretty fun, because we got to hit it with a hammer.  Don't forget to wear goggles and gloves!
 
 Getting the cabinets straight required a lot of work.  It took several hours to put them back up!
Removing the countertops was less fun that the backsplash.  We just wanted it over by then!


We couldn't find a matching cabinet (and believe me, we looked everywhere!), so we decided to make our own.
Finally getting the countertop installed was such a huge step. We were originally told there would be a seam near the sink, but when they came back it was all one piece!
The backsplash was the most time-consuming project.  Neither of us had done any tiling before, but it turned out really well!


The bookcase has been my pet project.  There was originally a teeny-tiny cupboard there, with a door that opened awkwardly into the kitchen entry. We decided we would rather have a bookcase and open shelving than a cupboard that is exactly one aluminum can deep.


We still have to paint and install the shelves, but it's getting there.  I wanted to put baskets here, but Matt was against that idea, so we comprimised with these black canvas bins from Target.

The table fits perfectly in this space!

In case you haven't noticed, I love open shelves.  These floating shelves were only $20 each at Home Depot.  I'm probably going to change my mind about what to display here, but I like it for now.

I also made a dry erase board with a picture frame and a piece of fabric.  It was super easy, and it covers the ugly phone jack that we couldn't find a cover for.  A tutorial can be found on Make and Takes.

One thing I'm still not sure about is the bottom of the bookcase.  I'm not sure if I want to keep it open and put trim around the bottom, or try to close it off with drywall.  What do you think?

I'll probably try to figure out what to do by the weekend because I would love for this project to be finished. Anyway, here's the cost breakdown for the kitchen:

Eco by Cosentino Counters: $2800
Jeffery Court Mosaic Tiles: $365
Mastic/Grout/Sealer/Tiling Tools: $85
Cabinet Materials: $100
Paint/Spackle: $40
Shelves: $20x2 = $40
Light Fixtures: $30 (the one over the sink was free- we took it from a bathroom)
Moulding: $125
Table: $260
Bookcase Shelves/Drywall: $40
New Outlet: $5 (my dad did the electrical work for free!)
Oven/microwave/dishwasher: free! (came with the house)
Refrigerator: free! (Matt’s parents gave us their old one)
Grand Total: $3890
Not too bad for a new-looking kitchen, huh?  It’s been a lot of work, but we’re both so happy with the results!  

6.06.2011

Backsplash is done!

I know it's been a while, but this post will be worth it.  We finally finished the kitchen backsplash.  The actual construction of the backsplash didn't take as long as we thought it would, but it had to be broken up with sufficient time to cure and dry between steps, so it was completed in about 5 days start to finish. 

Here's the wall we started with:


Lovely, right?  We made sure that there were no flaking pieces of paper, and that all of the major dips were covered.  Then we started laying the tiles.  We used glass and stone mosaic tiles that came in 1'x1' sheets.  The mastic (adhesive) was surprisingly easy to work with, and I got the hang of it fairly quickly.  Since there wasn't a lot of space in the kitchen to lay out tiles, we decided to cut them as we went. We started laying the tiles at 5:30pm.  Matt had to go to sleep at 9:30pm to get to work at 5 the next day, so I told him I could finish up myself.  Famous last words.  I ended up finishing around midnight, but the end result was worth it:


We had to wait 24 hours for the mastic to dry, but since I had finished so late, we decided to wait 2 days before grouting.  We used gray grout and Matt applied it while I followed behind him wiping up the excess.  This part only took about 3 hours, and when we were done it looked almost finished!


After the grout had sufficiently cured (48 hours) I put on 2 coats of sealant to help prevent stains, and carefully caulked around the perimeter.


Stay tuned for the completed kitchen reveal - we should have it ready this weekend!